Full setup instructions can be followed in app so be sure to download and install the Joto app from the relevant app store.
1. Powering Joto
PLEASE NOTE: It’s important to use the supplied 60W power adaptor to ensure Joto works as expected.
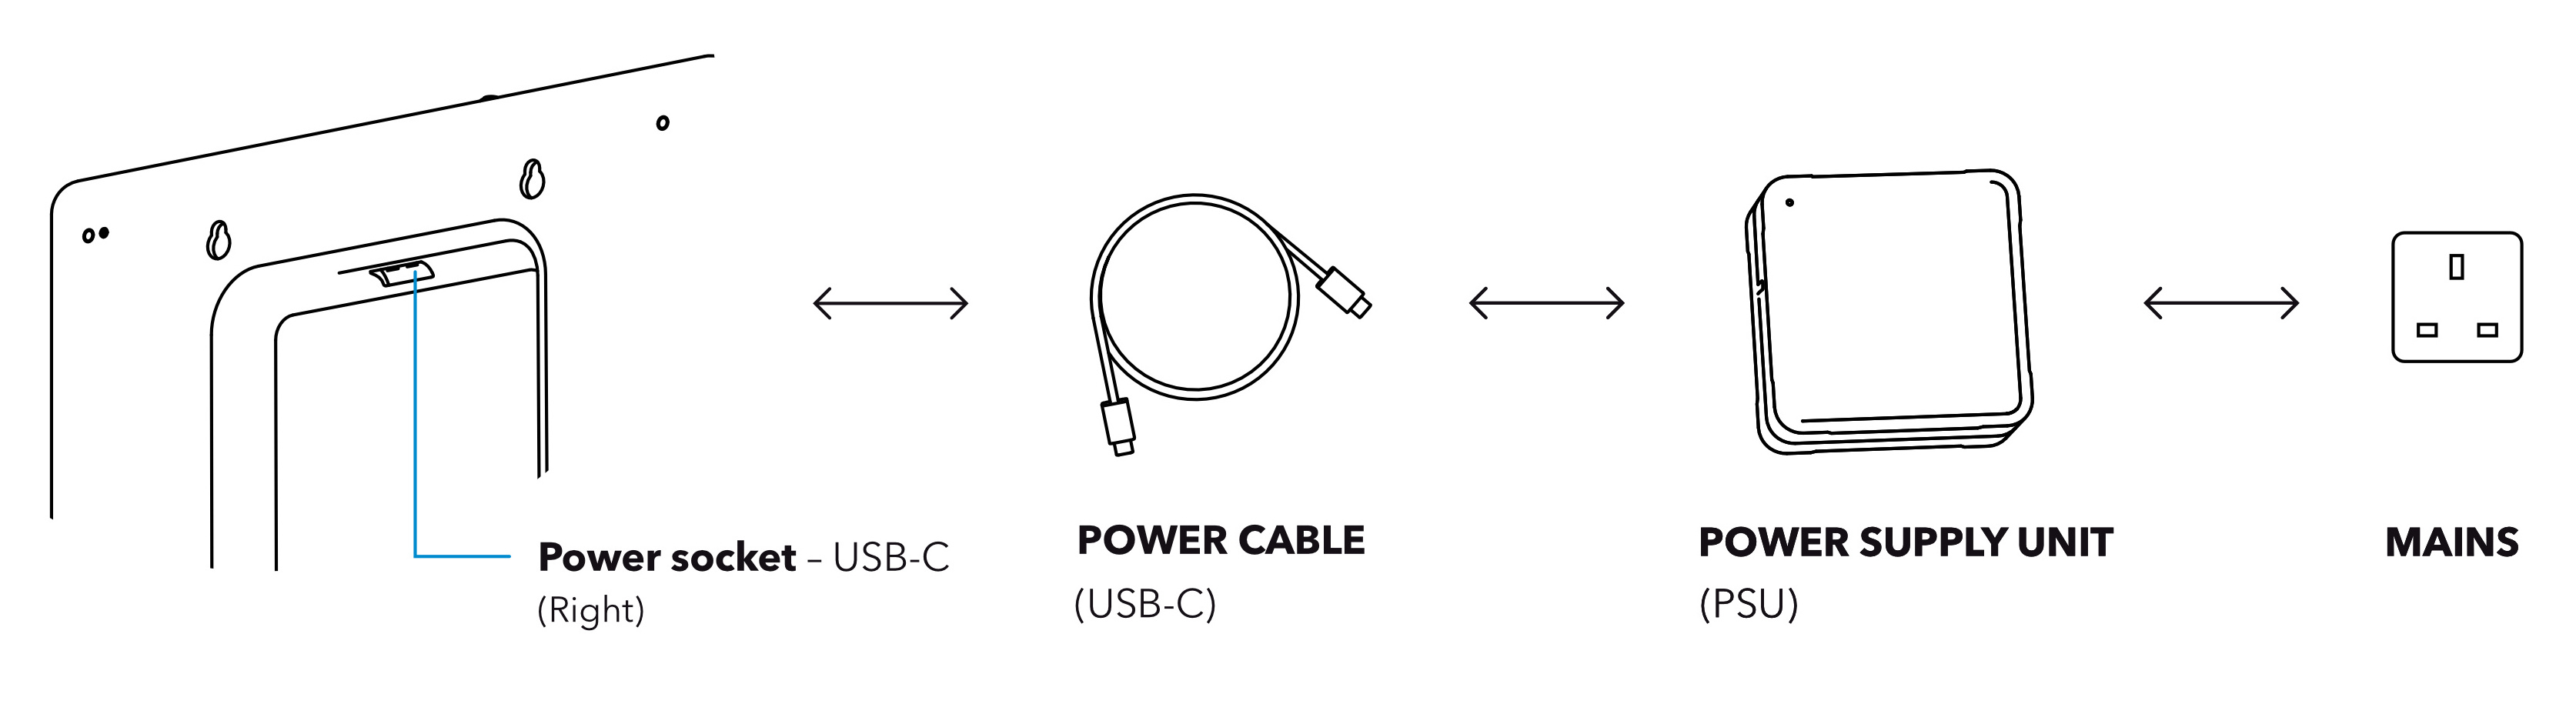
1. Plug in the power adaptor
Have a look in the box and select a regional plug if necessary before plugging into a power outlet.
2. Plug the USB cable into Joto
Remember the right socket is the ‘right’ socket  Hold Joto securely with one hand and plug the included USB-C cable into the right socket.
3. Now plug the other end into the power adaptor
The light on the power adaptor will light up once everything is connected.
2. Pairing Joto
Once Joto is plugged in and powered, you’re ready for pairing.
The pairing process is the second step in the setup guide which is also accessible from the menu icon on the app home page if it’s not already open.
PLEASE NOTE: Joto must be in pairing mode to complete these steps. When Joto is in pairing mode, the red light at the top will be blinking. If you have previously paired Joto you will need to put Joto back into pairing mode. To do this hold the button at the top of Joto for 2 seconds. The light will begin blinking after Joto takes a moment to restart.
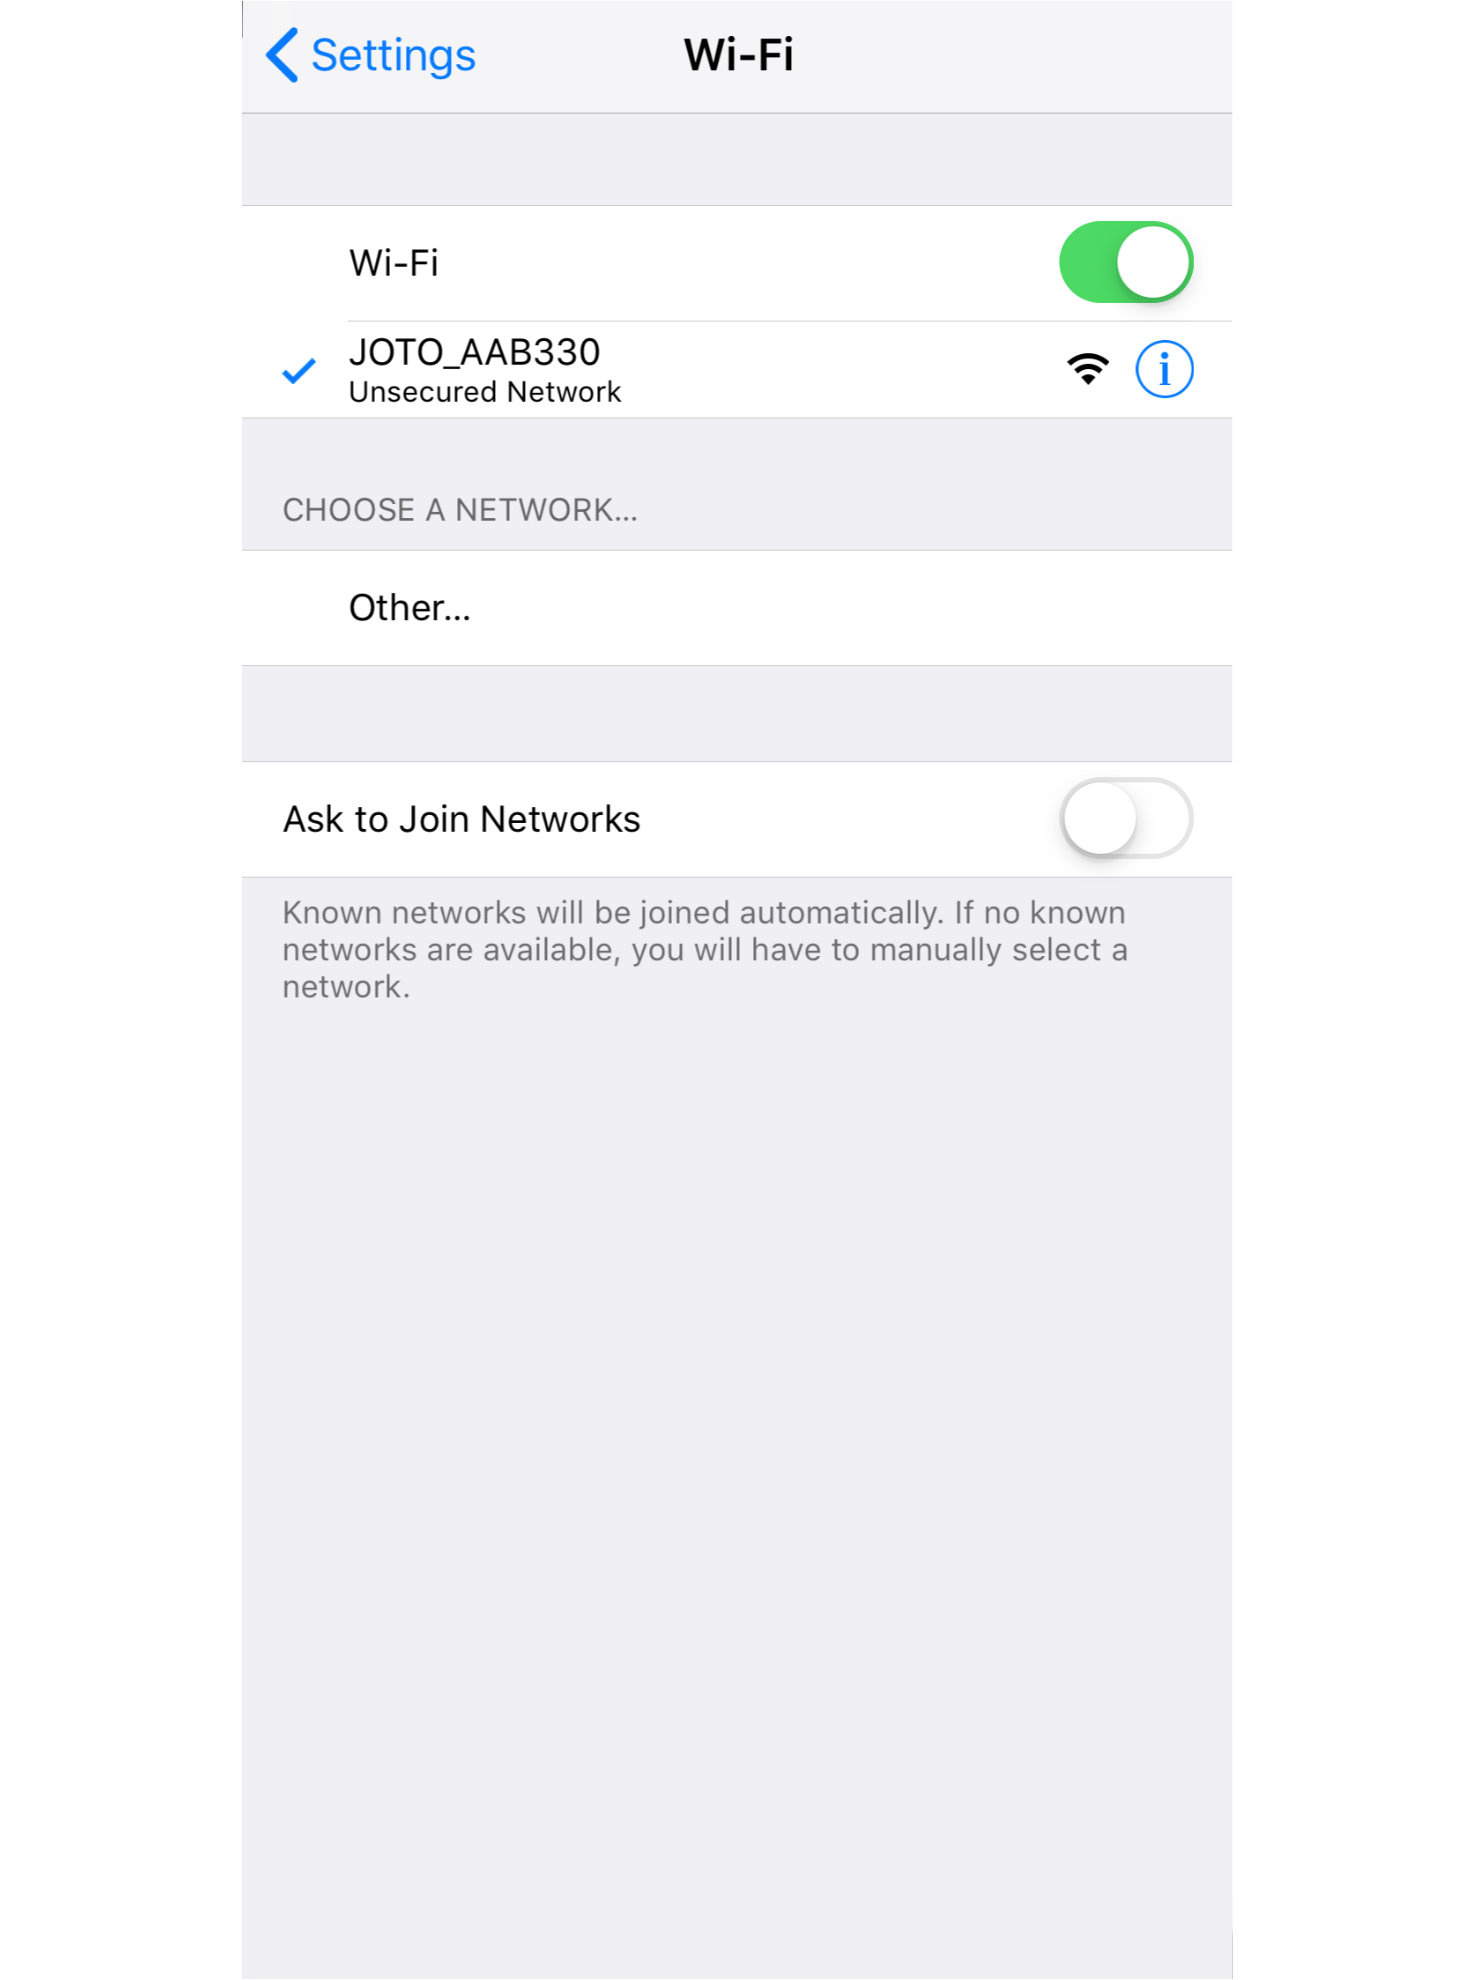
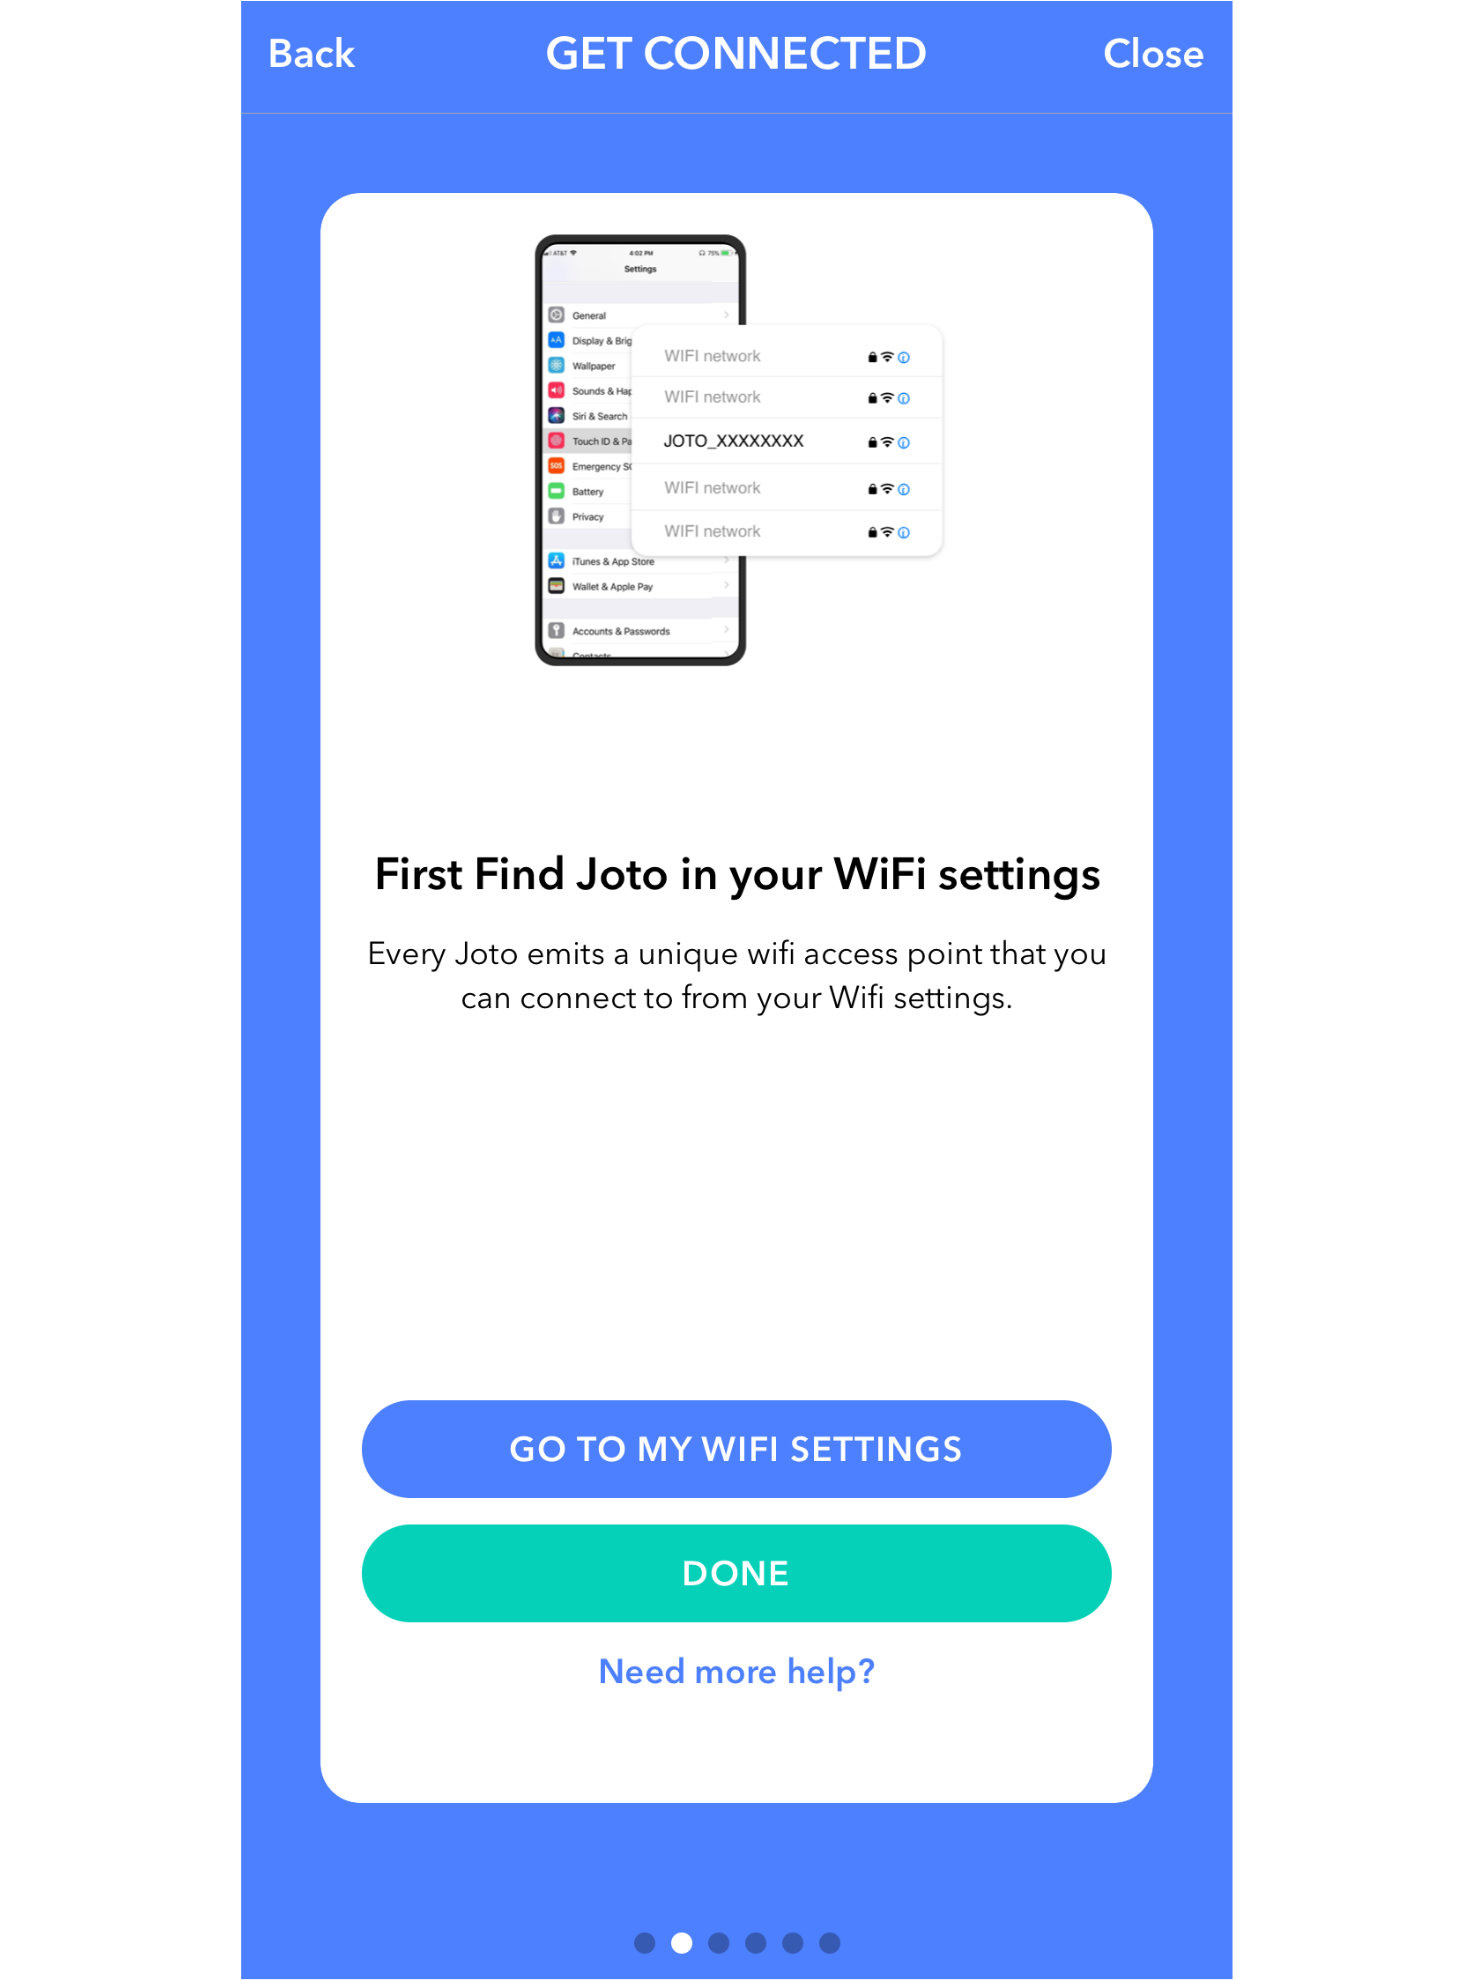
1. Find your Joto
The first step is to find your Joto. Press the button to open your Wifi settings. Choose your Joto from the list, it will be called something like ‘JOTO_XXXXXX’, and then return to the Joto app.


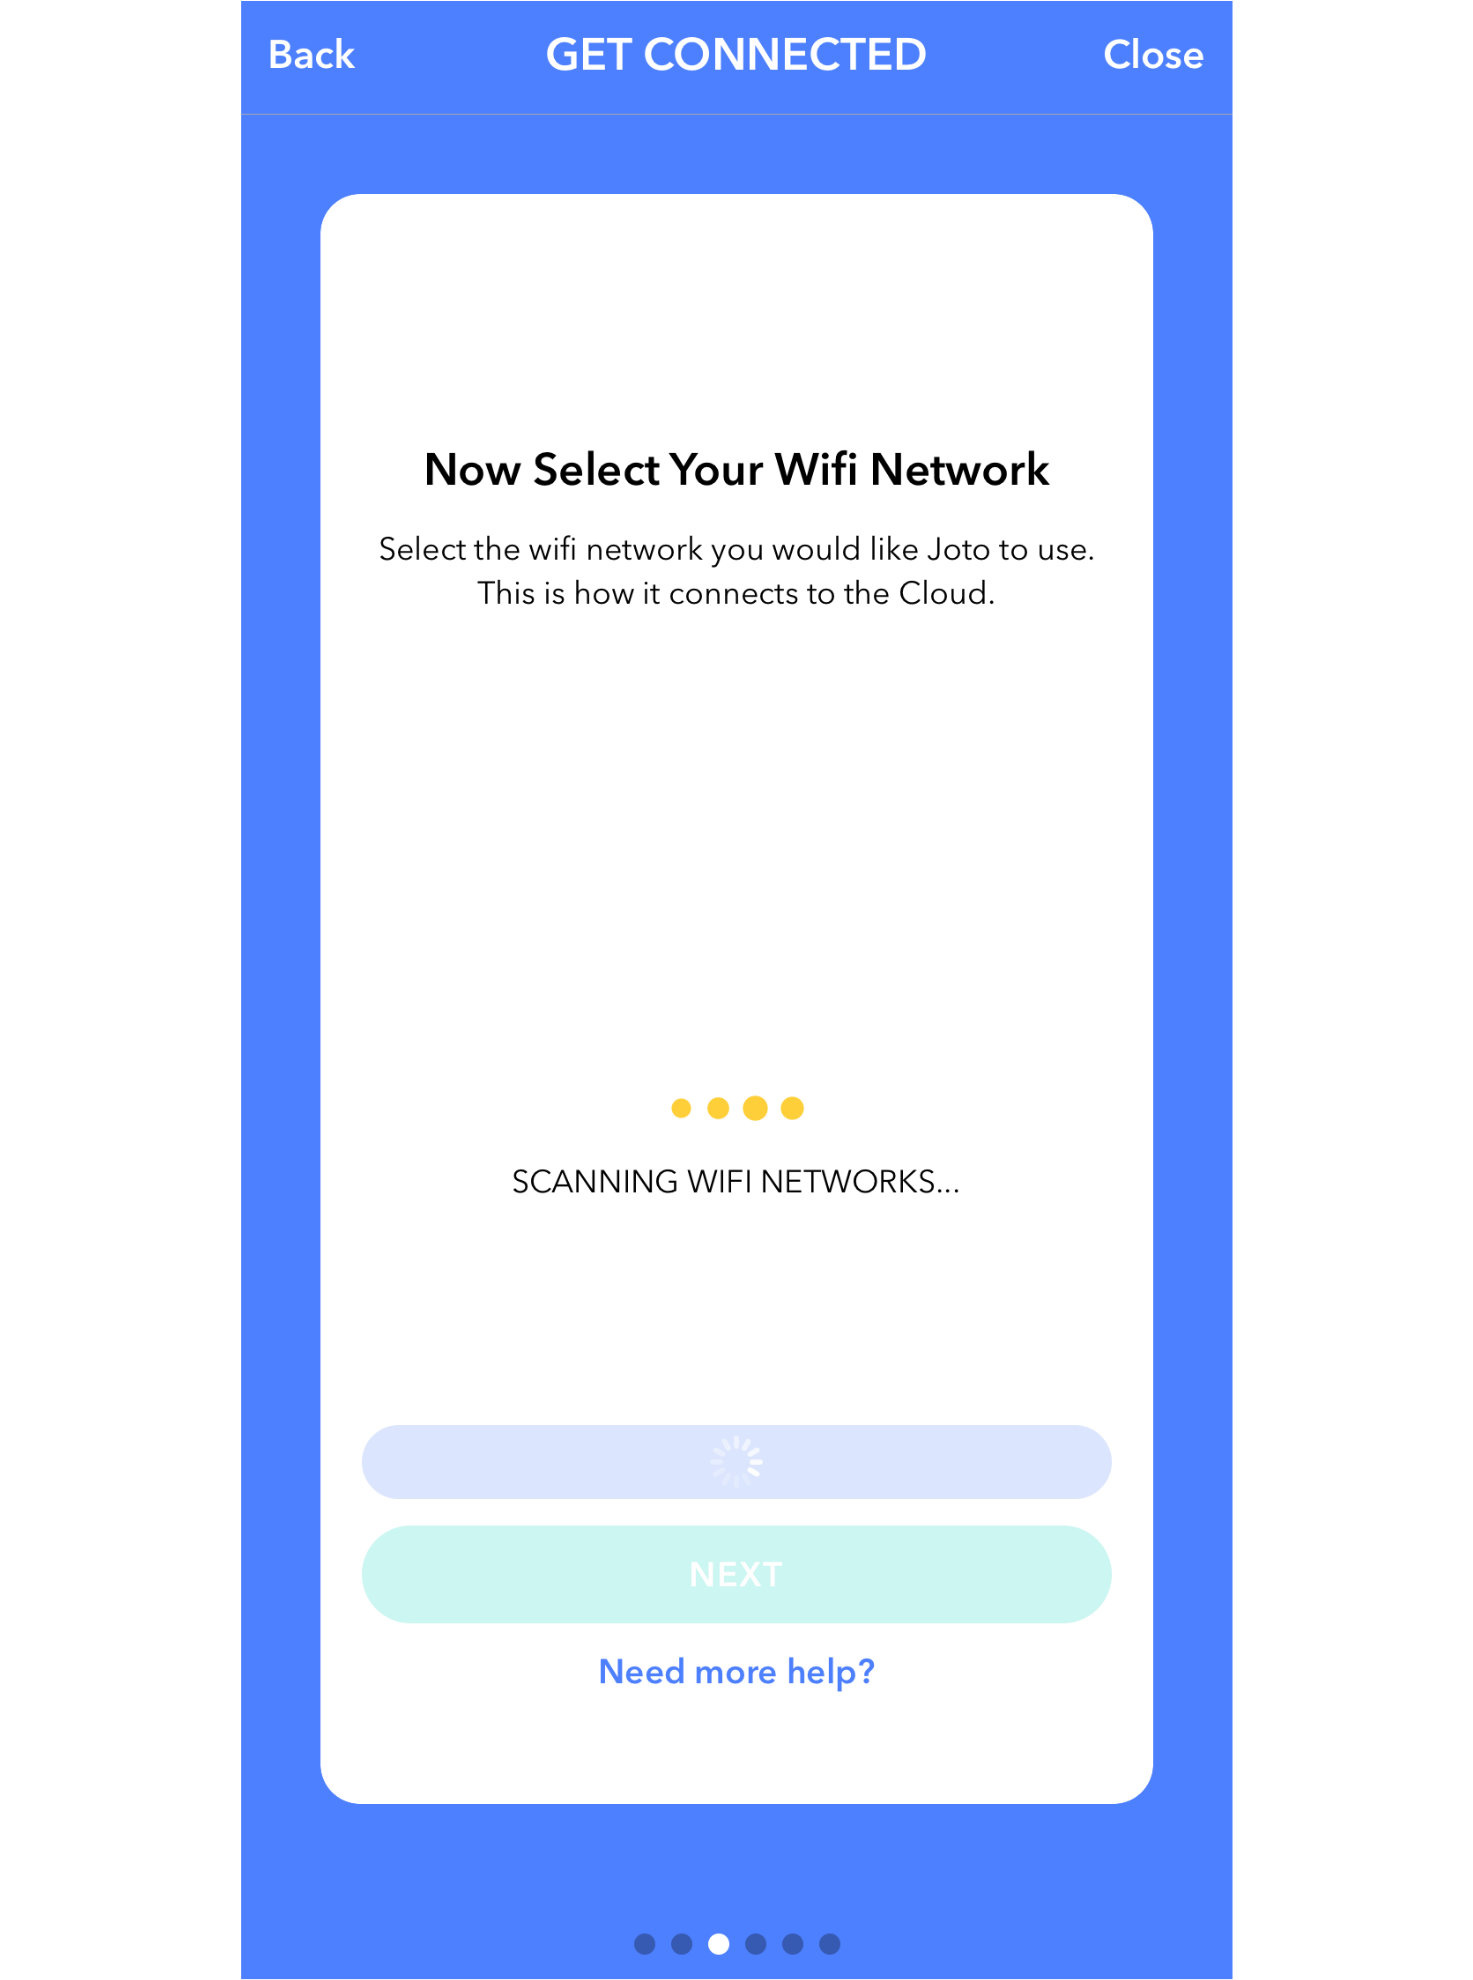
2. Connect to Wifi
The next step is to choose the internet connection you’d like to connect Joto to. Once the list has loaded choose which network you’d like to use.
3. Firmware update
Now that you’ve connected Joto to the internet it will perform a firmware update to ensure you’ve got the latest firmware.

4. Connect
Next Joto will connect to the cloud, this shouldn’t take long.


3. Ink setup
PLEASE NOTE: The following describes the process for setting up the legacy pen and ink system. If you have the new Easy Fill kit we’d highly recommend using it instead.
1. Enter care mode
Press the Care mode button within the setup guide in the app. Alternatively Care mode can be accessed from the Joto home page within the app. Once Care mode is selected the pen will move giving you access to Joto’s dock.
2. Remove the dock
Twist the dock anticlockwise from 9 o’clock to 6 o’clock and pull the dock out.
3. Install ink reservoir
Lift the top off the dock and place a fresh ink reservoir into the tube.
4. Ink
As this is your first time filling Joto’s ink we recommend first protecting your surface just in case! Joto’s ink bottle has a handy drip nozzle, squeeze the bottle gently to drip ink onto the reservoir. Take your time, allow the reservoir to soak up the ink as you go to avoid any spillages. The reservoir should turn black as it fills up.
Wait a few seconds and check the bottom of the reservoir, if it’s still white then you can try adding a few more drops of ink until it turns completely black.
Press the lid back onto the tube and continue to the next step.
5. Put the dock back
Now return the dock to Joto. The front tab should be facing down (6 o’clock position) and twist clockwise until the tab covers the notch in the surface (9 o’clock position).
Like any marker pen it’s important to put the lid back on before it dries out! So continue to the next step to exit care mode prompting Joto’s pen to return to the dock.
6. Exit care mode
Click the button in the setup guide to exit care mode and the pen will return to the dock. You can also exit care mode from the home page of the app by clicking the plus icon.
4. Nib
PLEASE NOTE: The following describes the process for setting up the legacy pen and ink system. If you have the new Easy Fill kit we’d highly recommend using it instead.
Changing Joto’s nib is a very simple procedure.
1. Remove the pen insert
Remove the pen insert by rotating the white tabs with a short anti-clockwise twist and then pull towards yourself.
2. Nib
Insert a fresh nib into the nib holder, press lightly on the nib with a finger to ensure it’s fully inserted.
3. Put the nib insert back
Return the pen insert to the housing by aligning the tabs and using a short clockwise rotation.
4. Wait
Go grab a cup of tea and wait for the nib to soak up enough ink for your first Jot. This will take a few minutes.
5. Create a jot!
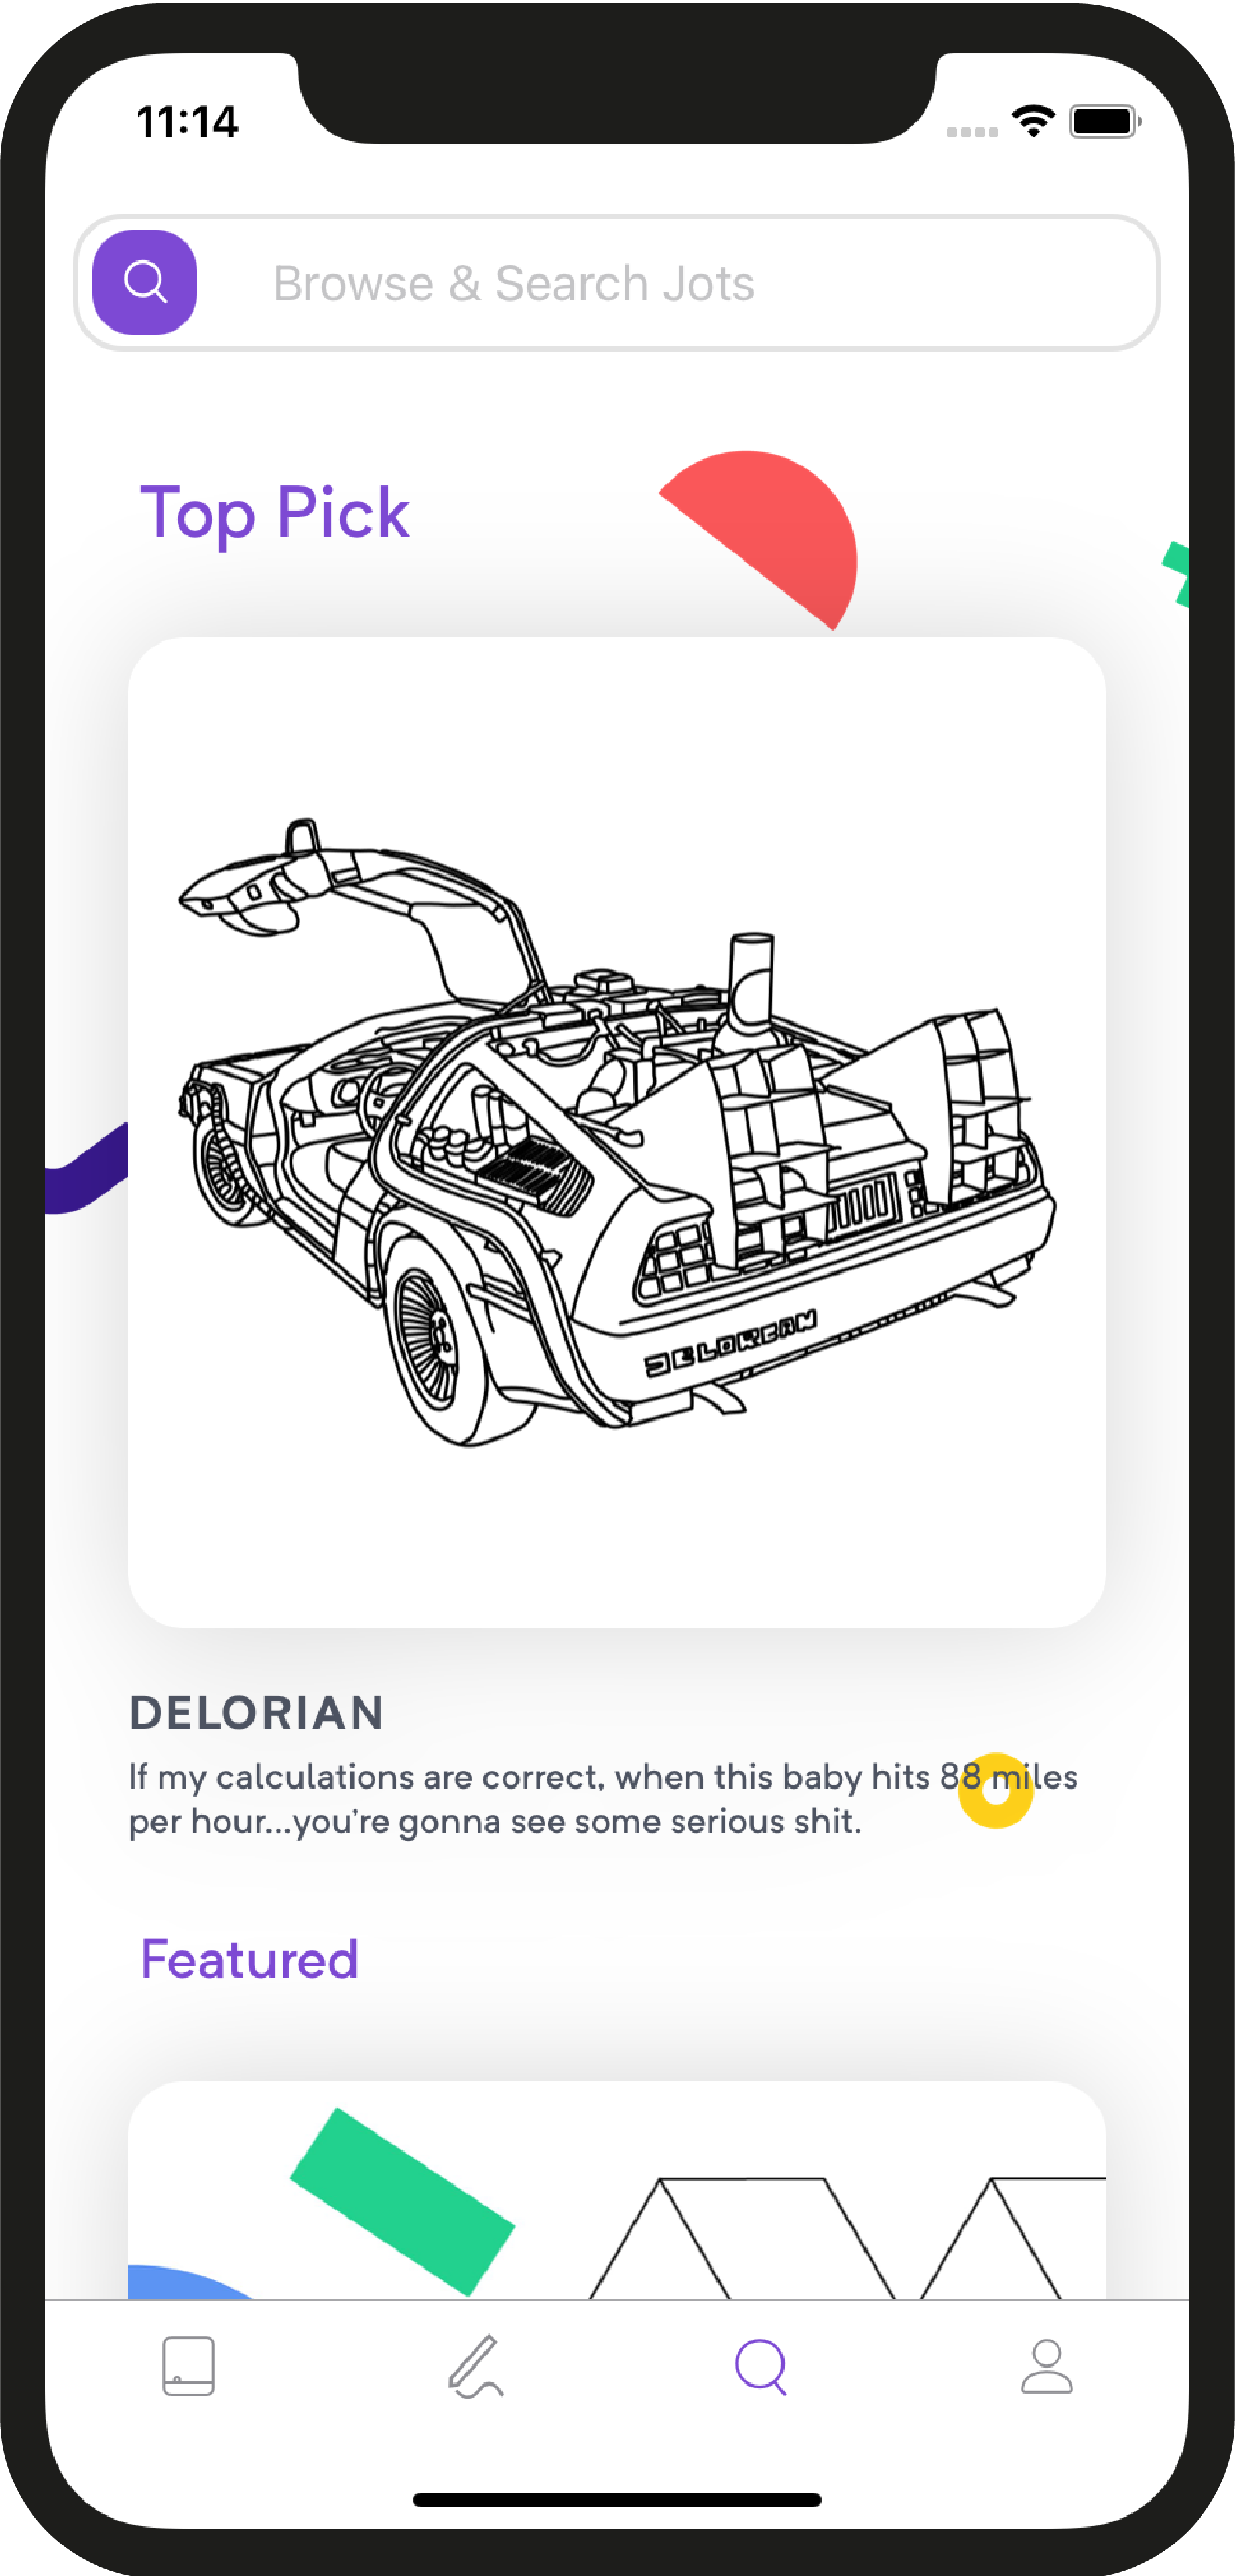
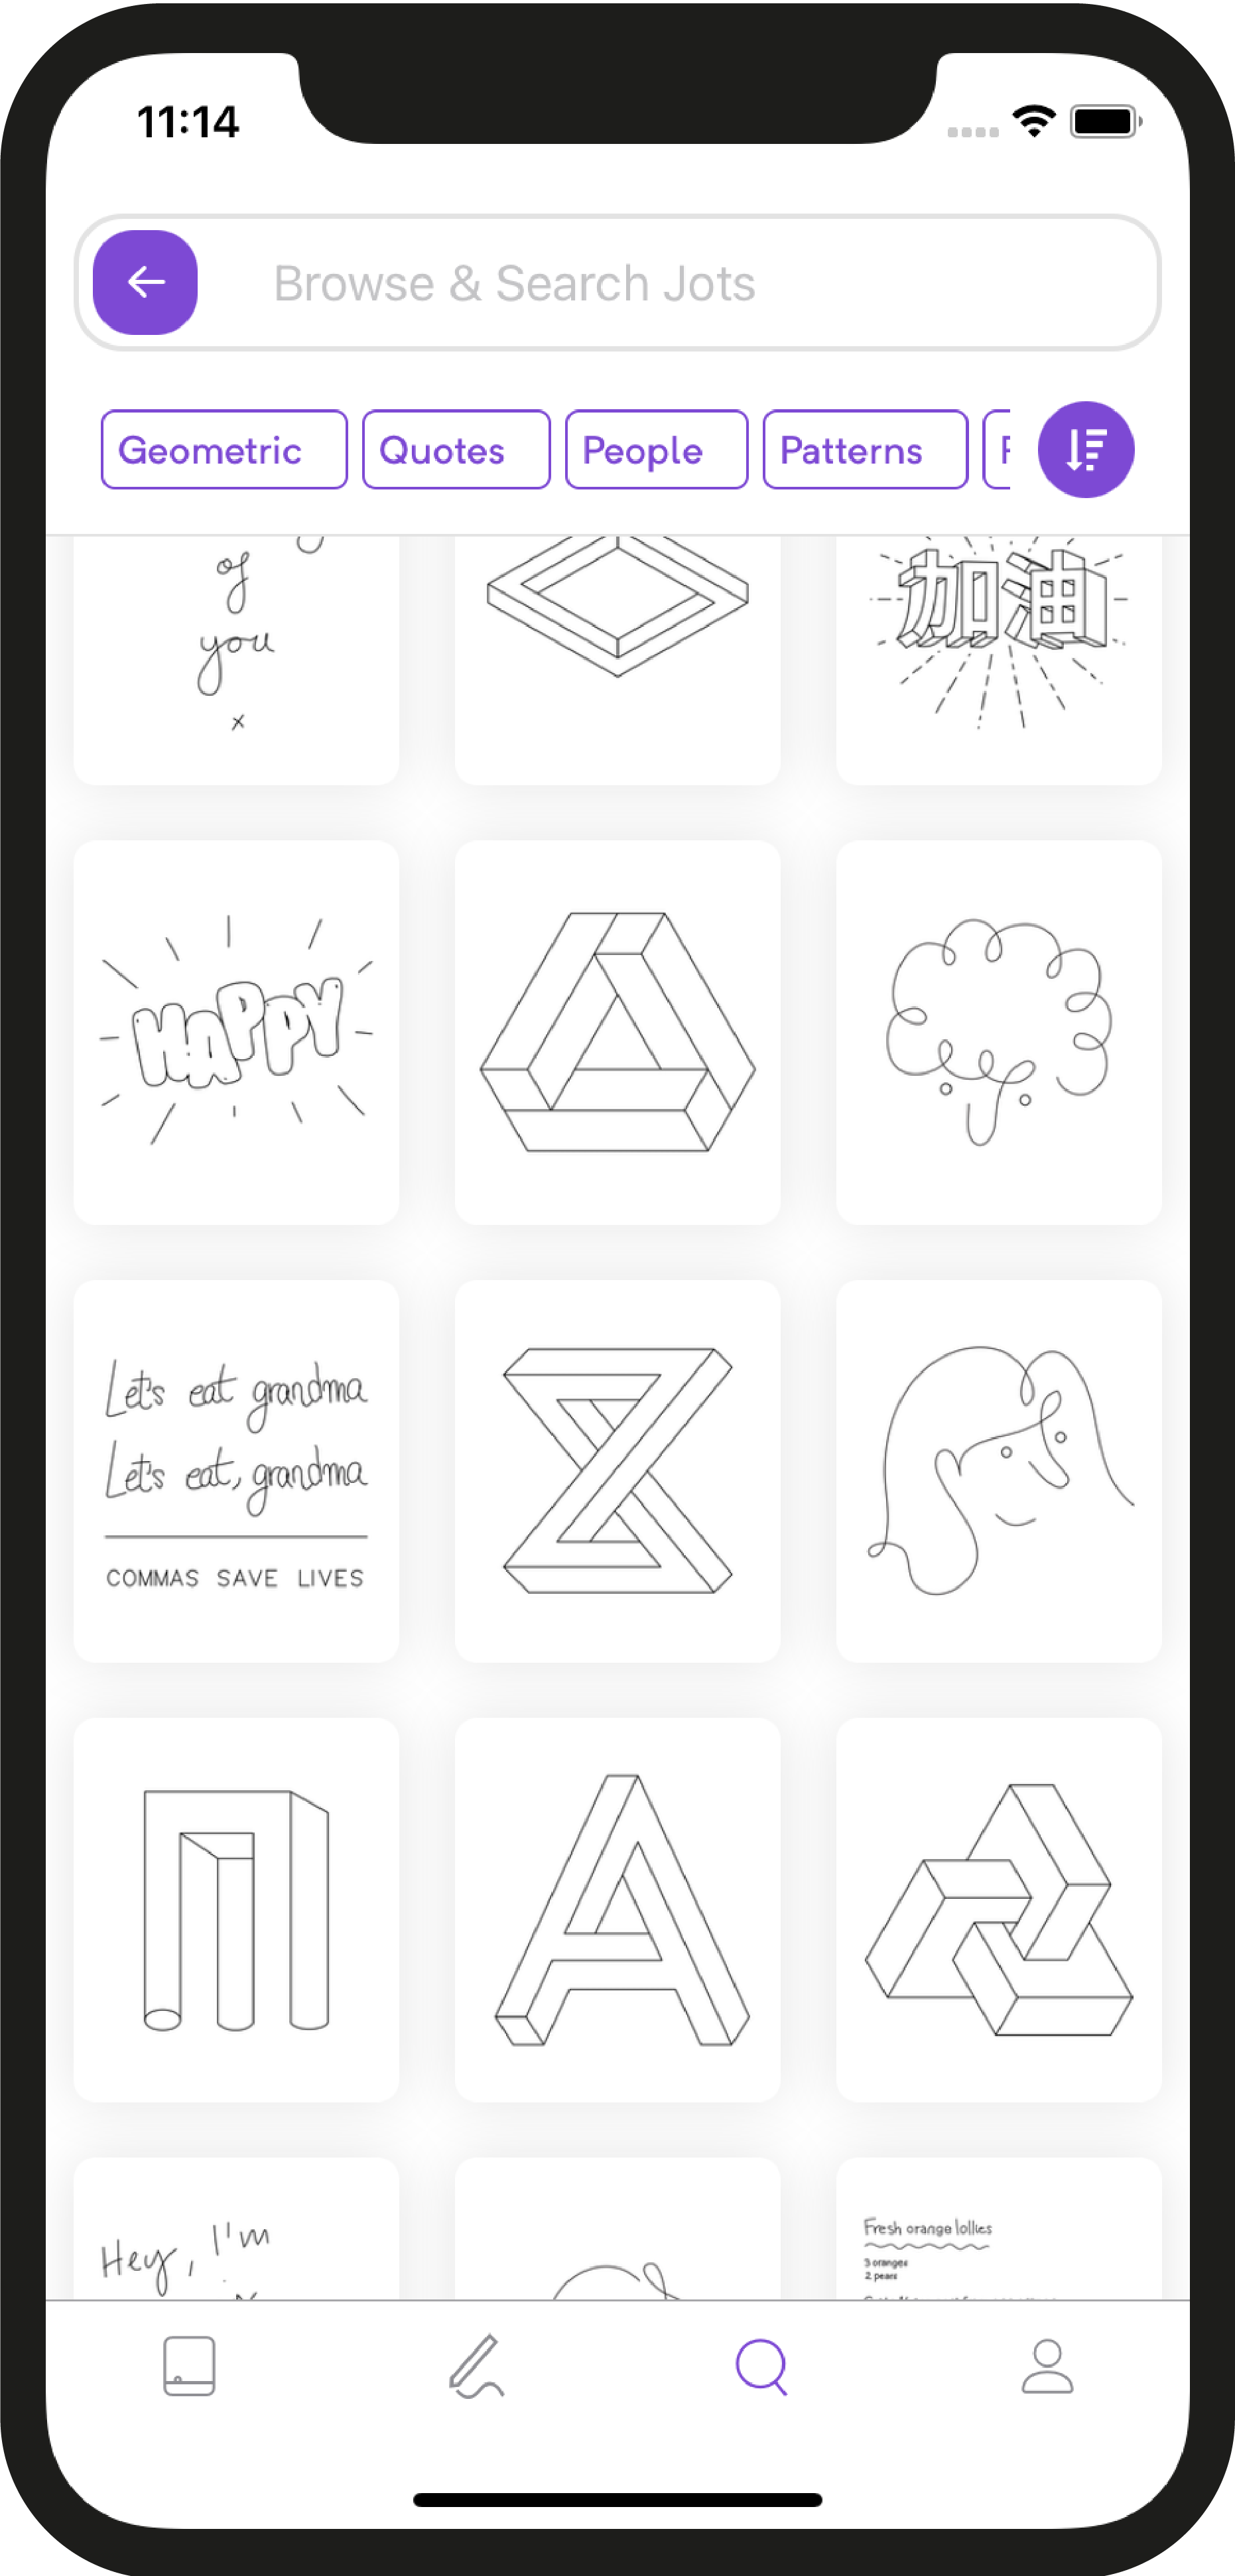
You can create your first Jot either using the tools in the create tab or use the discover section to browse a range of artwork.